I've found another scrapbuster that I absolutely LOVE - Making fabric Yo-Yo's! Whenever I see a yo-yo, I think of a quilt my grandma made that my mom has framed in a shadow box in her living room (wish I had a picture). It's gorgeous and so unique!
Here's a little history on Yo-Yo's
(skip ahead to the tutorial if you are about to yawn)
"The Yo-Yo quilt was a popular style of quilt making in America from the 1920-40s. Yo-Yos, or tiny circles of fabric, were gathered up at the edges and sewn together to create a three-dimensional effect. Yo-Yo quilts were popular because women could carry the little circles of fabric with them and make Yo-Yos whenever they had a free moment. Another way to explain the popularity of the Yo-Yo quilt may be its association with the toy called the Yo-Yo, very popular in the 1930-40s."
found
hereHere's what you'll need:
-Iron
-Scissors
-Needle & Quilting Thread
-Marker
-Circle Template
-Fabric Scrap
 Note:
Note: *You can use any circle shaped object you have in the house (a mug, bowl, coaster, etc).
*Your finished yo-yo will be about 1/2 the size of your starting circle. To make a 2 inch finished yo-yo, begin with a 4 inch circle template.

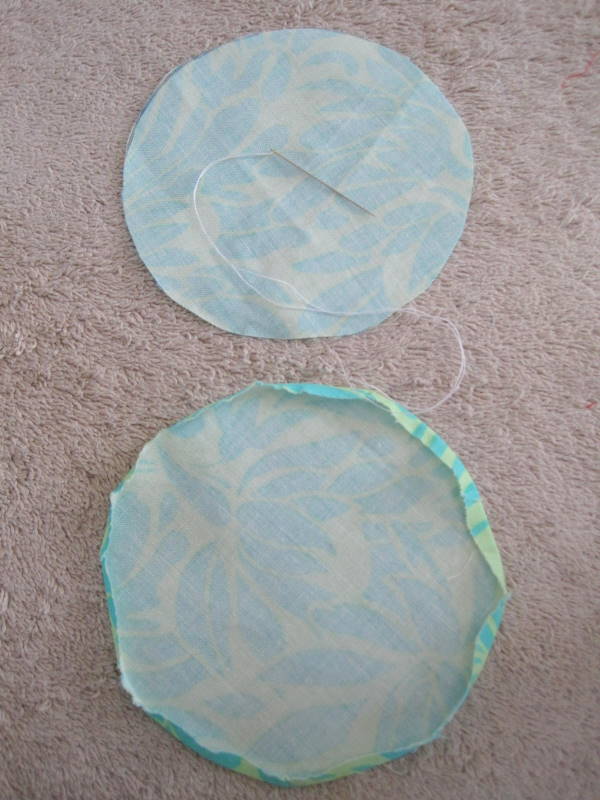
Step 1: Trace and cut out your circle.
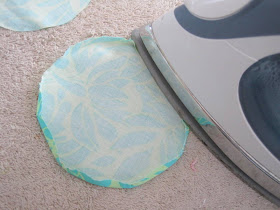
Step 2: Turn fabric right side down and press the edges with an iron - about 1/8 inch all around. This doesn't have to be exact, but you'll want to keep the circle shape.
 Step 3:
 Thread your needle and knot the end. Start at the edge facing you and go in and out making a running stitch around the perimeter of the circle.


You can pull your thread and fabric as you go to see how it looks.

 Step 4:
 When you get to the beginning again, finish with your thread going inside the yo-yo, knot it off and clip the string so that it's hiding inside.
 Step 5:
 Straighten the gathers and flatten with an iron.

Simply stitch these little guys to tee shirts to create little yo-yo clusters:


Or glue them to some
hair clips:

Or make them into a
necklace:
The possibilities are endless! Happy stitching!